PCB – Printed Circuit Board
A flat sheet of plastic backing, etched or printed with circuit channels  that generally end in holes into which other elements such as microcontrollers and connectors can be soldered into. You can make these yourself with blue PnP etch resist film and there are also various versions available that work by stopping out or connecting (usually through spot soldering) pre-printed channels as required, such as the Schmartboard.
Main Board
A PCB which has been pre-fitted with a microcontroller and other elements such as connectors, LEDs, a reset button, and resistors. The exact configuration of each main board depends on its function, but it must always contain the ‘brain’ part of the microcontroller or similar – a typical example is the Arduino Uno, for instance.

Breakout Boards

Now, this is where we enter into serious geek-speak. A breakout board consists of a chip (and usually its appropriate resistors) soldered onto a small PCB with its (otherwise hard-to-access) connector pins ‘broken out’ (i.e. connector channels etched into the PCB and ending in small holes). Often the ‘broken out’ connector pins are labelled with the corresponding output pins on the chip. A breakout board has many advantages – the connectors on chips can be terribly difficult to work with owing to their size, and breakout boards make it easier to solder other connectors (such as pin headers) or wires on. The labelling also helps to avoid having to reference the schematic every five minutes. A breakout board usually does not contain a microcontroller (there are exceptions) and will not work on its own, so they are essentially expansion devices for the functionality of your main board and needs to be connected in some way to the same. There are many different types available, such as sensors, small scale devices and card readers.
Shields
Shield boards are different to breakout boards in that they are a lot more complex in their functionality – think of them as the big brother of the breakout board. They are mounted on top of your main board (often looking like large electronic sandwich) and seriously extend the capabilies of the Arduino – if you fancy adding a touch screen or turning your Arduino into a small gaming console these are what you will need.

Breadboard
 One of the most important tools in your box when starting out in electronics is a breadboard. Once made from wood, the modern version is made from plastic and sports rows of convenient little holes in it, which are connected with copper channels running inside the board. Used for prototyping circuit designs, you can plug jumper wires or components directly into the small holes and connect them to a power source to test functionality. Breadboards come in all colours and sizes – some of the more fancy ones even have jacks for connecting benchtop power supplies, or for linking up to make larger circuits. The one shown above is one of the most pared down designs, without even the most basic markings, its compact size making it suitable for smaller projects.
Headers

It took me ages to figure out how everything fits together – probably longer than it should have done really, but cut me some slack, I am only a jewellery artist after all and sometimes the simplest questions are the hardest to ask! Connecting the output pins on a PCB can be achieved in many different ways – you could use conductive thread for instance, or solder a bare wire straight through the hole. Initially, sewing was the most familiar concept to me (electronic component soldering is very different from jewellery soldering) so I plumped for that, but for my next project I needed a less involved (and more easily reversible) method of making connections. Enter the header pin! Headers have many advantages over just soldering a bare wire through the hole in the PCB – they are essentially small plastic plugs with a short wire on one side for soldering through the PCB, and either another wire (male) or a hole for pushing a wire into (female) on the other side. You can buy headers in many different confiurations, ranging from the simple one-pin header (designed for one wire) to the larger 6 or 8 pin headers (designed for 6 or 8 wires), with the wires connecting the headers to the board in a straight line, or at a right angle. The advantage of headers is that you can plug and unplug them as many times as you like, with one set permanently attached to your board. This means if you are still learning (like me) you can easily undo small mistakes in making connections, and take your projects apart after you don’t want to use them anymore, or adjust them at a future point to include additional functionality. You can buy headers either individullay, or as break-away strips from which you can snip off as many as you need! Simple!
Jumper Wires
 Now, as a jeweller I had heard of jump-rings, and as a driver I’d heard of a jump-start, but never of jumper-wires. Imagine my surprise when I found I already owned a large selection box of them, doubtlessly bought during my first or second year of art college for their pretty colourful plastic coating. They are quite simply lengths of solid or stranded copper wire, covered in a plastic sleeve so as not to create a short circuit when used in assemblies. You can buy them in assortments which will include a variety of colours and lengths, or on reels to snip off as needed. Usually the different colours are used to denote different kinds of connections – there are some conventions, such as using red and black for power connectors – but it really is up to you. You can solder them straight into the holes of the output pins on your PCB, or mod them with female or male crimps and plastic housing to plug straight into header pins soldered to your board. One definite advantage of making your own jumper wires as opposed to buying ready made ones is that you can vary the connectors and length of wire as your project dictates. See my crimping tutorial to find out exactly how to do this!
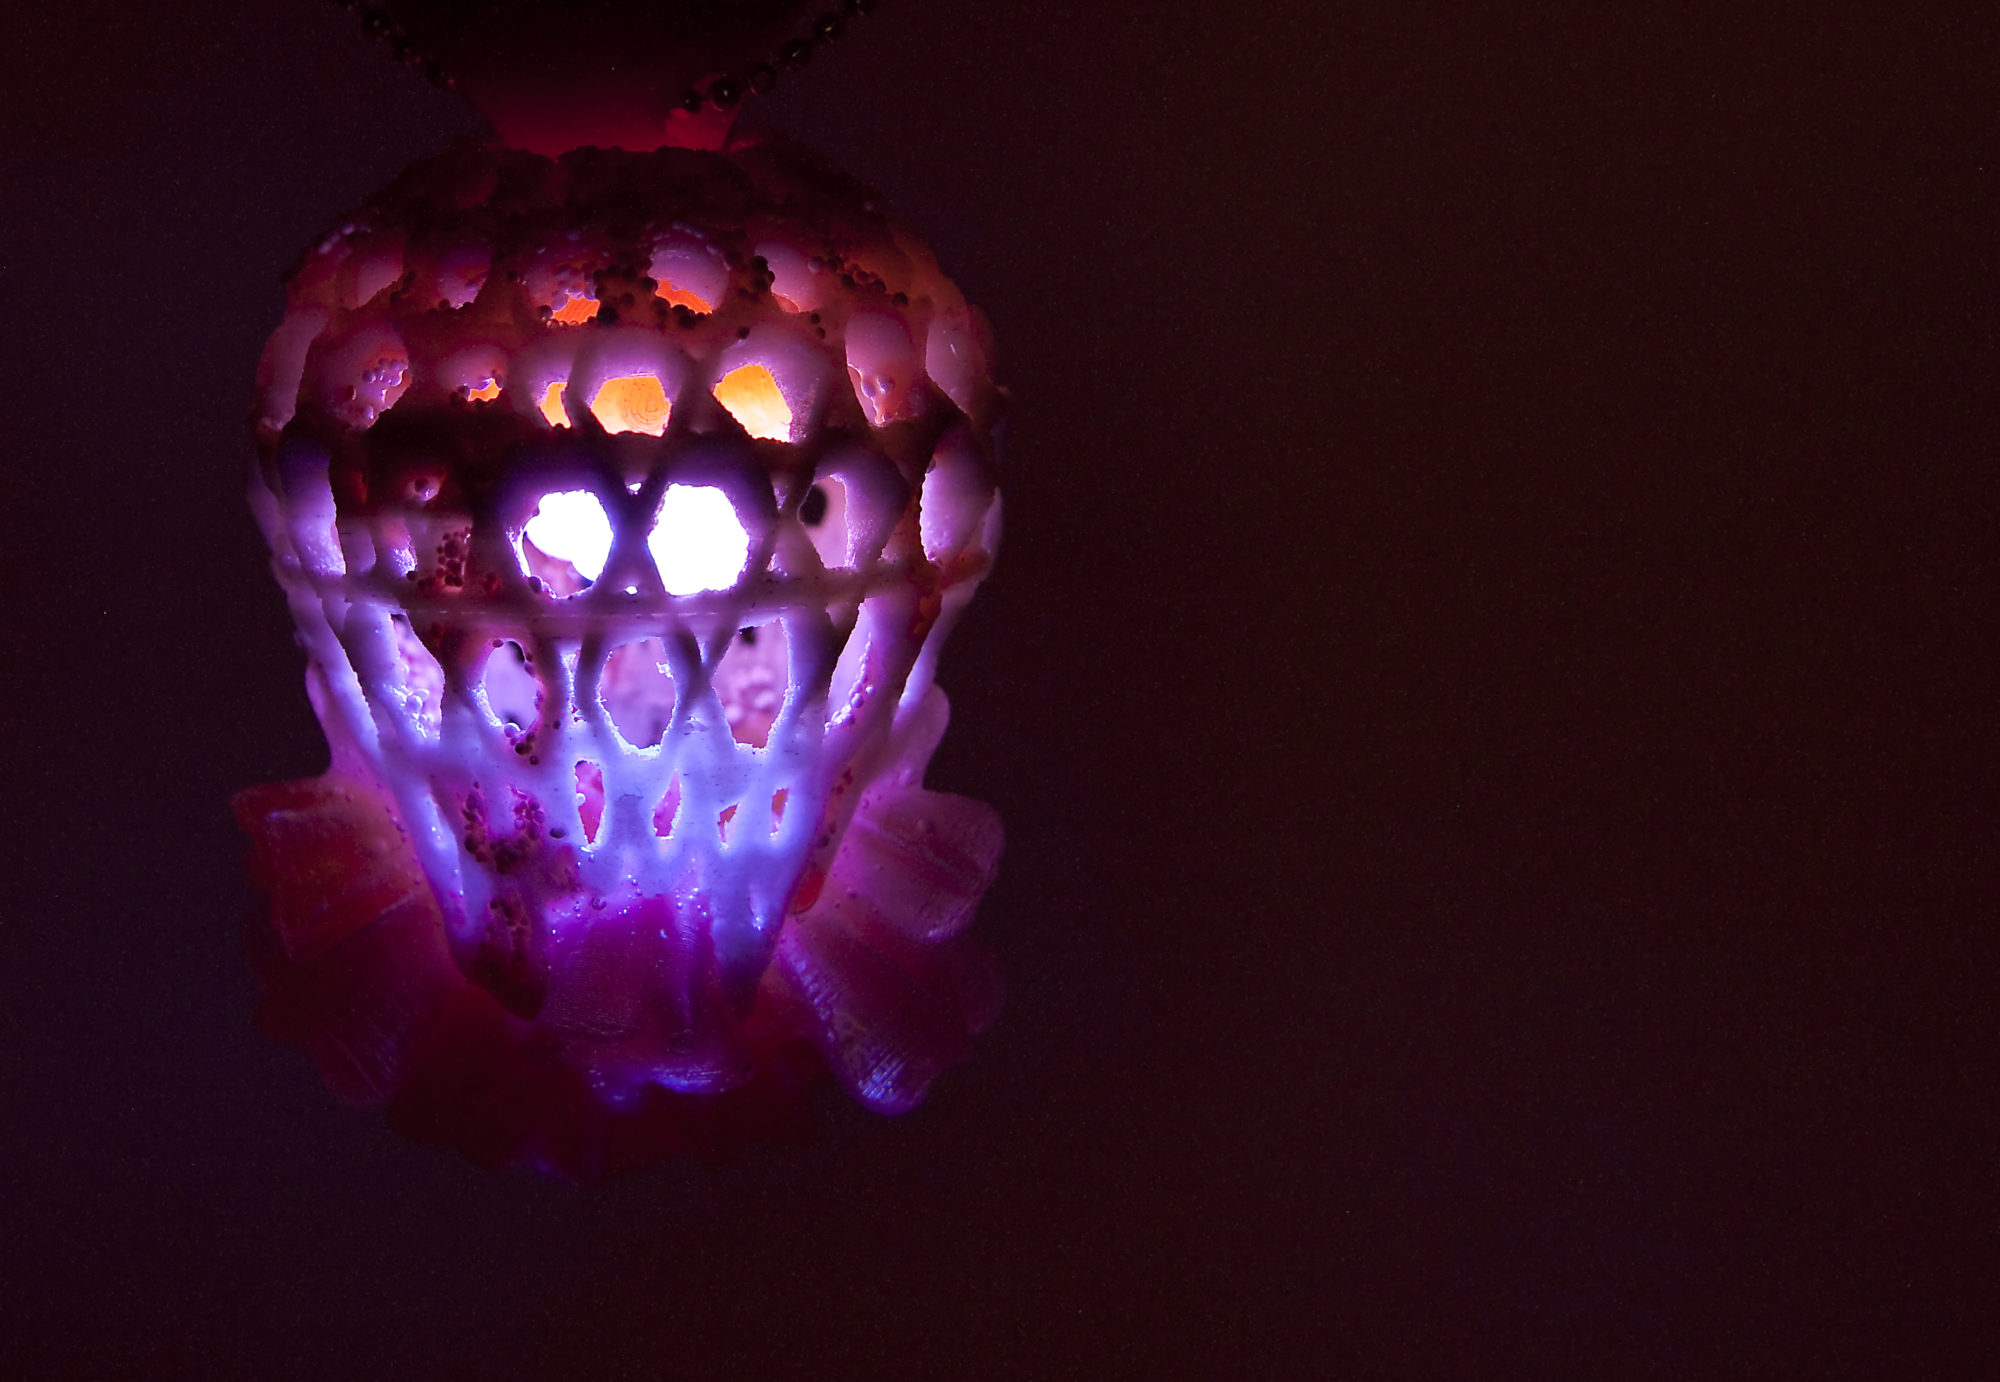
LEDs
 Most people will be familiar with the lovely little friend of every electronics whizz called the Light Emitting Diode (LED). They are now used in most strings of christmas and fairy lights, and recently have started to replace those awful (if VERY bright) halogen bulbs, that cost you an arm and a leg to replace on a regular basis. LEDs have many advantages over conventional small bulbs, not least of all their very low power consumption. The quality of their light is not quite the same yet as that of a ‘normal’ halogen bulb – they tend to have a starker, linear beam with ‘colder’ light. Think operating theatre versus candle light and you’re nearly there. LEDs come with different viewing angles, in many different sizes and colours and equipped with either a clear or diffused housing. There are special types of LEDs such as UV, infrared, superbright and tri-colour, to name but a few. LEDs are used in remote controls, as indicator lights on appliances and to add that special touch to wearable electronics. They are very cheap and if equipped with the right resistor will last a VERY long time before burning out. In short, they are versatile, perfectly suited to weird experimentation and amazing.
EL Wire
 Ever fancied making your very own Tron outfit? Here’s your chance – the future of retro-futuristic clothing has arrived and EL wire is a staple of it. Electroluminescent Wire is simply a plastic tube filled with phosphorescent fluid that lights up as electrical current is passed through it. It is available in many different colours, never heats up when in operation, and has relatively low power consumption. People have been experimenting with it in various different ways, using it for large sculptural installations, and embedded into funky feature dresses. It always has to be powered through a suitable inverter, which has a few disadvantages, not least of all a slightly annoying buzzing sound it makes when in operation, and connecting several lengths of it can be a bit tricky, but altogether this is outweighed by the coolness factor of wearing glowing wire.
You must log in to post a comment.