Building the Ultimaker…

So, after deciding to go with the kit version of the Ultimaker Original +, the fun started at the beginning of December with the arrival of a pleasingly heavy box on my doorstep. At this point I would like to say that I absolutely love online shopping – the postman is to my mind a much improved version of Santa, delivering goodies to your doorstep all year round :).

Unboxing time!
Unboxing time!

Inside the box awaited three layers of components, with the laser cut plywood frame pieces at the very bottom. Getting these to my house unscathed had been my biggest worry, but luckily everything was well wrapped and nothing was damaged in transit.

Lots of...stuff.
Lots of…stuff.

But hold on! No packing list. I had literally no idea what anything was (only a few of the plastic bags were labelled) and so went into a mild state of panic. Luckily for the first step of the assembly process no instructions were needed – lightly sanding and painting the plywood parts. I had been to the DIY store earlier and decided on a colour scheme of satin blue for the main body and fluorescent pink for the moving parts. Mixing the paints with water to thin them down and adding custom pigment was something I had read about on various Ultimaker blogs, and it worked an absolute treat, leaving a lovely translucent matte finish.

Painting and sanding all the little parts took forever...
Painting and sanding all the little parts took forever…

This step took a lot longer than I thought, especially as I wanted to preserve the beautiful dark laser-cut edge on all the pieces. After I had painted all the sating blue structural parts, I started assembling the main frame.

The main frame, assembled and in situ
The main frame, assembled and in situ…

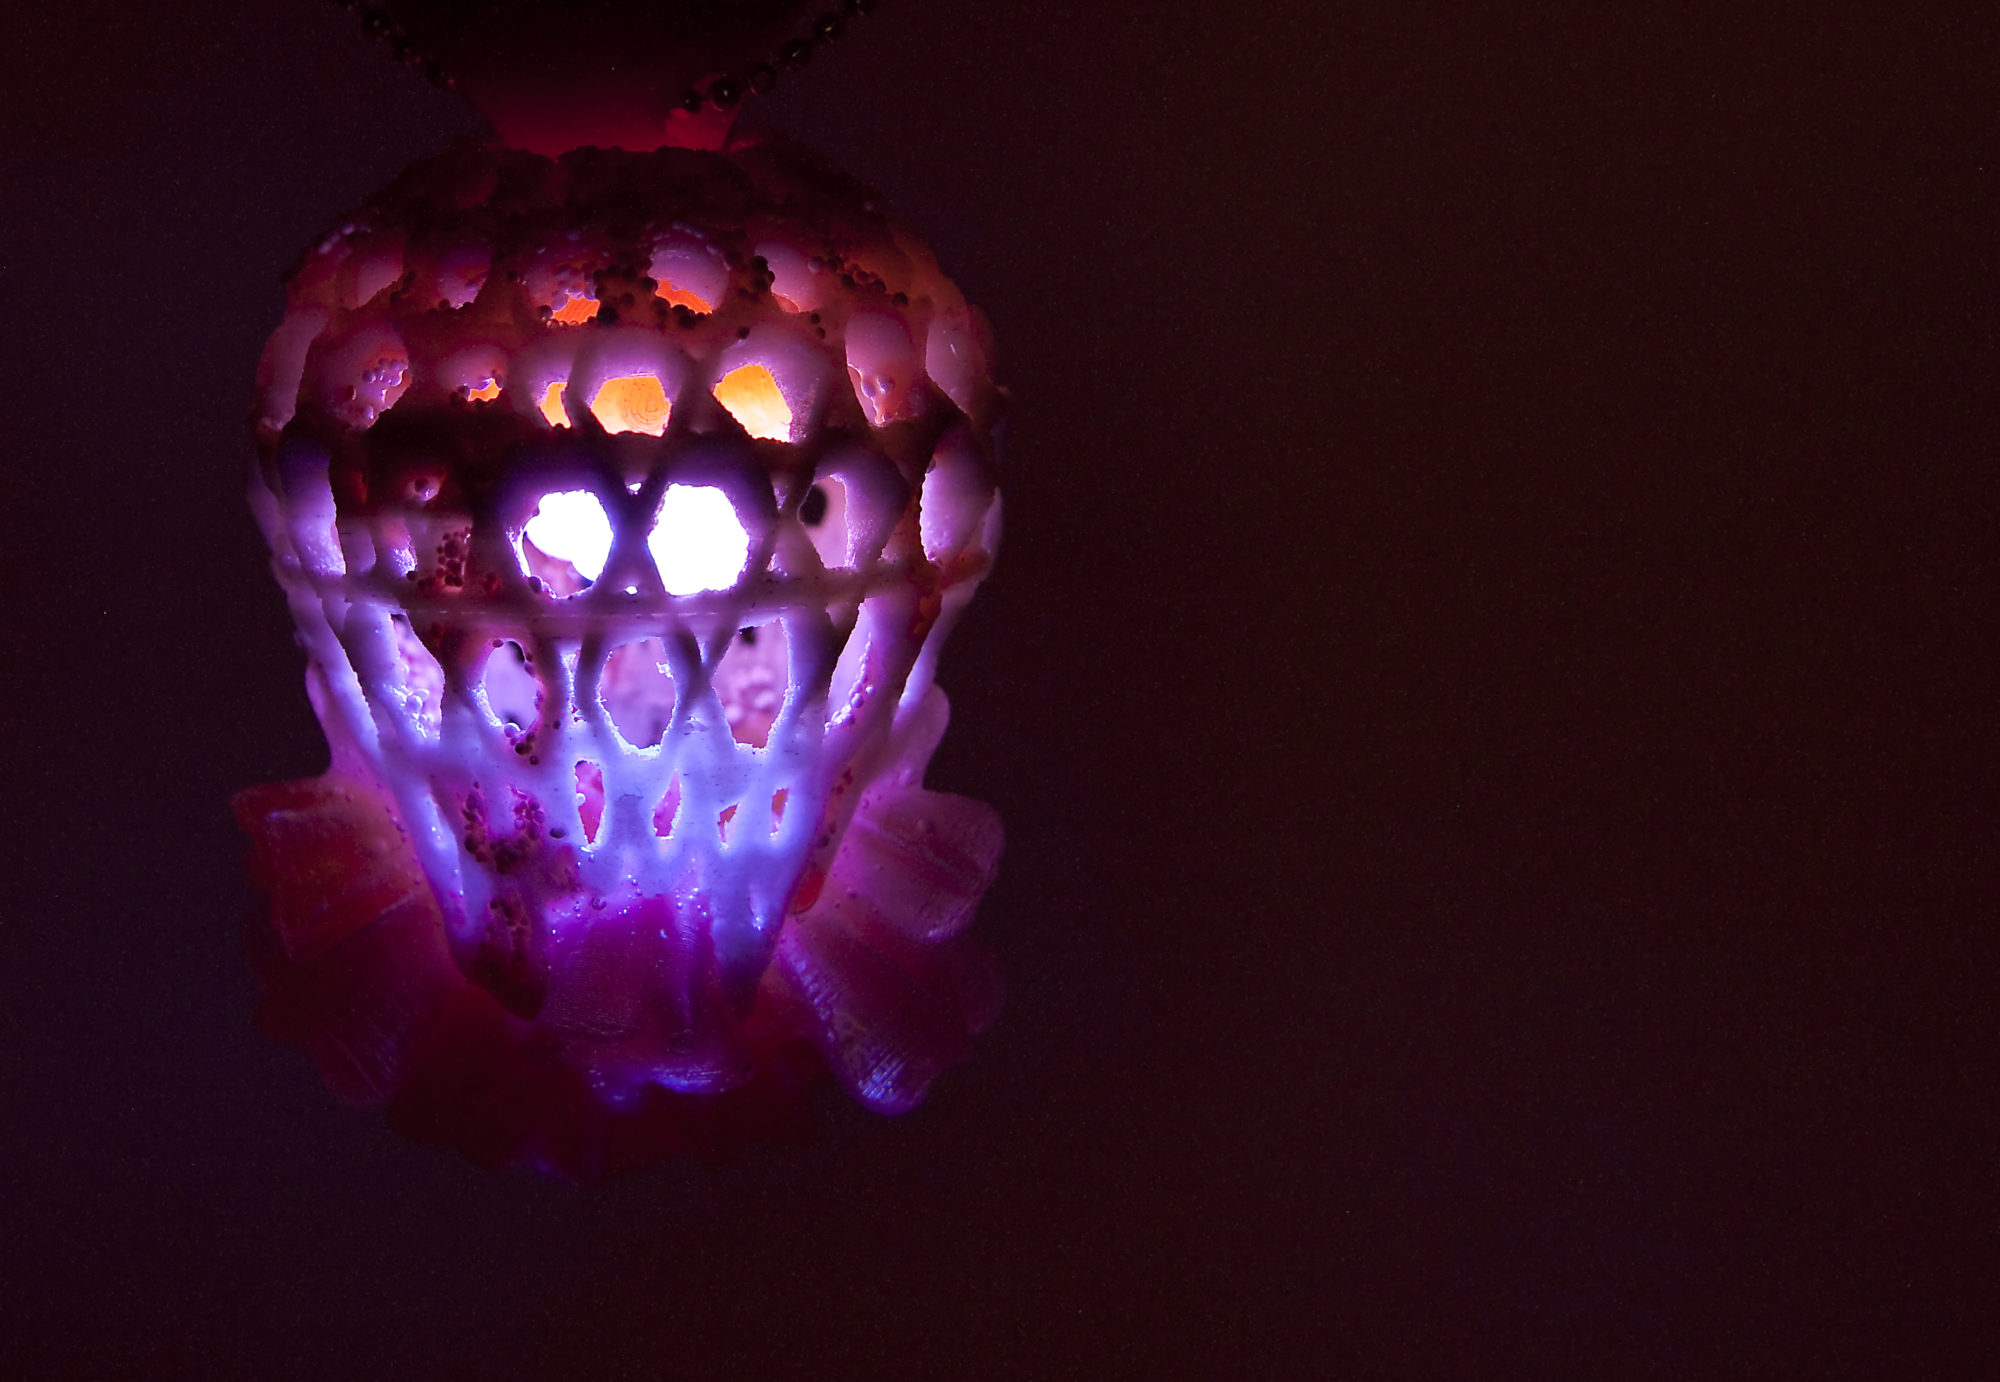
My studio is starting to get a little crammed with me adding more and more gadgets over the years, so I had to start expanding upwards by modifying a huge ikea shelf with a pull out platform. It’s the perfect size for my Ultimaker, and the shelves above hold my collection of various filaments. The assembly process itself took about seven days in total, and there were various bumps in the road as the parts were not fully labelled (particularly the multiple bags of screws) and such operations rarely go completely smoothly. But by the end of December, as 2015 was dawning, my Ultimaker was fully pimped and ready to go…and here it is in all its glory, my ‘girly’ Ultimaker Original + as one of my (male) friends called it – with mood lighting!

Ultimaker04


The Digital Soane

I recently took part in a really exciting collaborative project between the Sir John Soane’s Museum in London and the Royal College of Art alumni initiative In Tandem, supported by the Jerwood Foundation. For the project, the bust of Sir John Soane was digitally scanned to create a 3D model which was in turn divided into a number of fragments. Each participating designer was then given a digital printout of a randomly selected fragment to work with and design their own object in response. I was fortunate to receive an ear, which I turned into a temperature responsive wall sculpture with detachable necklace, based on architectural elements found within the Soane Museum.

I wanted to create something that looked and felt almost organic while being connected intimately to Sir Soane, his collections and his house. The colour was inspired by the eponymous yellow south drawing room with its black architectural mouldings, while the shapes of the necklace were abstractions of the famous domed ceiling of the breakfast room and Sir John’s urn collection. The title “Soane’s Burning Ear” refers to a story about the betrayal of Sir John’s son George, who published an article in a prominent architectural journal deriding the architectural practice of his father. This has come to be seen as a turning point in Soane’s life as the shock was allegedly responsible for the death of his beloved wife Elizabeth. The title “Soane’s Burning Ear” plays on the expression “My ears are burning”, and reflects Soane’s anger and disappointment with his son after this episode, expressed through the red colour of the silicone.

The object itself consists of two parts – the fragment of Sir John’s ear, taken from the bust and coated in a temperature reactive silicone and a 3D-printed pendant made from SLA plastic with a black, facetted sterling silver chain. The ear fragment acts as a holder for the pendant, and can either be displayed as an object or hung on the wall via the small hook on the back. When the pendant is detached, the ear becomes clearly visible, and a piece of the pendant seems to stay behind, giving the impression of Sir John wearing an earring.  When the temperature of the fragment changes, for example through prolonged touch, direct sunlight or a rise in environmental temperature, the silicone changes colour and slowly transitions from dark red to bright yellow, blending in with the pendant and thus unifying the piece. This change is symbolic of time passing and obscuring the emotional turmoil of the past, shifting the focus onto the fragments of Sir John’s legacy as an architect and collector.

An exhibition of all pieces from this project at the Sir John Soane’s Museum will be open to the public from the 4th – 22nd of November 2014.

Press Release Digital Soane_Soane_RCA_Jerwood 2

All Makers Now?

After returning from the very inspiring All Makers Now? Conference in Falmouth, I am buzzing with ideas and projects to add to my research. I met so many interesting researchers, artists and tinkerers in Falmouth, all working around the same themes and problems as me.

One of the most interesting discoveries was that of a website detailing recipes for using alternatives to the expensive materials supplied for the Z-corp 3D printer. While we had long suspected that the special white powder used in these machines is in fact plain plaster powder, research teams at US universities have started to tackle this head on by finding viable alternatives to bring down the cost of printing. As these printers need to be used regularly in order to keep working, this is a very welcome development. Cost is a major deterrent when it comes to creativity and experimentation, so hopefully I will be able to get some gears moving and try some of the recipes in our machine.

The recipes can be found at http://open3dp.me.washington.edu/, alongside lots and lots of other cool hardware and software projects all things 3D.

More exciting discoveries I made at the conference to follow soon. Now a summer of conferences and site visits is drawing to a close, it’s time to buckle down and finish writing that chapter of my thesis. But first, some impressions from the All Makers Now? Conference…enjoy!

Conference Participants enjoying the Smart Materials Workshop on Friday:

Makers 1Makers 2The opening of the All Makers Now? Exhibition at Trelissick House and Gardens on Thursday night:

Makers-Now-Web04-resavedMakers-Now-Web03-resaved

Facebook Jewellery Exchange Sneak Peek

Hello All,

After a prolonged absence I am yet again resuming my research and thus this blog. And what better way to ease back into the swing of things than with a fun project. I have a few projects on the go at the moment, but the one I have just finished is the Jewellery Exchange, as promoted by Olga on Facebook. I believe 370 participating contemporary jewellery artists got partnered up with one another and agreed to make and swap a piece each by mid-April. I just received my piece in the mail from my partner Safira Blom, who is based in Sweden, this morning and I am absolutely delighted with it.

My own piece made its way to Sweden last week and I think it was well received. Incorporating 3-D printed elements and my signature thermochromic silicone shapes, it is the first of a new body of work I am currently developing, based on Macro images of cells, structures and minerals. Unfortunately we are not allowed to release images of the finished pieces before the jewellery exchange website has been unveiled, so instead I am posting a tiny glimpse of its structure in extreme close up. Enjoy!Pendant-Stack-Final-cropped

E-Textile Summer Camp Swatchbook

It’s been a hectic spring so far, with plenty of new and exciting collaborative projects in the pipeline for my research, as well as having been busy making new work to show at SOFA Chicago 2013 – hence the lack of new posts on the blog. With the arrival of summer even here in Scotland comes my first update on one of these collaborations.

Having experimented increasingly with thermochromic pigments for my research recently, it seemed natural that when invited to participate in the E-Textile Summer Camp Swatchbook Exchange to approach textile artist and lecturer at DJCAD Sara Robertson to produce a range of swatches incorporating thermochromic silicone and laser-cut textiles. After a few fun-filled afternoons of experimentation, we managed to produce 24 samples we were happy with, which will go into the swatchbooks for each participant and details of which can be found here. Each of the 24 participants will submit a sample of their own research in return, and the resulting swatchbooks will no doubt be coveted by e-practitioners all over the world – I can’t wait to see the finished booklets!

SmartLaB event this weekend!

It’s my SmartLab event this weekend at the Centrespace inside the VRC on the lower floors of the Dundee Contemporary Arts Centre and I hope to see some of you there! On display will be a range of prototypes of my latest interactive jewellery creations, as well as a short film of the Geotronic Brooch in action! There will also be a drop-in workshop for people to try their hand at using commercially available smart materials, and an ongoing demonstration of 3-d printing.

All are welcome, and there are two free talks each day, one at 12.30 and one at 2pm.

Back to School…

After a prolonged break from my Arduino experimentations I have finally made the time and, more crucially, room in my studio to return to the breadboard. It has not been a triumphant return. I could only remember the most basic facts about breadboarding, using electronic components and calculating resistance. Thankfully, I also had a whole new bag of funky components to break open, and after a little bit of online research, knowledge I had painstakingly acquired over the summer came flooding back to me in bits and pieces. I even vaguely remembered my plan (for which I had ordered said components) and how to go about executing it. However, of course my plan has changed since then and now I am unsure of how to combine the infinite variations of LEDs I have ordered in a meaningful way.

When looking over my components, the first surprise came when I inspected the Avago colour light sensor I had been so excited about in the summer. They say a picture is worth 1000 words, but to be honest I was still completely taken aback by the tiny size of this part, despite the useful size comparison picture next to it. How am I meant to solder that onto anything??? Briefly regretting not getting the fully assembled evaluation board instead (mainly because parts for wearable jewellery need to be tiny) I am now having to reconsider its immediate use in this project as I doubt my skills will advance quickly enough to make this part work (including all the programming). I had the foresight to order a simple optical sensor at the same time, and might use this instead in a more crude light/dark variation, which I might actually get to finish in time (the piece will be exhibited in March and needs to be delivered by February). As things stand right now, I will be over the moon if I even get the LEDs to work as I want them to and get all the soldering done on the components to fit them into the ‘chassis’, let alone complex colour sensing programming.

A significantly useful  idea I have come across in my research is to add a ‘sleep’ function to an Arduino programme in order to prolong battery life by turning off any funtionality not needed when the board is in sleep mode. As anyone working with wearables is aware of, battery life is one of the major problems, and so finding a way to make a single charge last longer is a great step in the right direction. I found a brilliant tutorial at Sparkfun on the subject, but unfortunately it exceeds my budding Arduino skills as of yet. However, I am sure I will return to it in the not so distant future – food for thought!

CIMTEC 2012 Conference at Montecatini Terme

Recently I was fortunate enough to be able to present a poster at the CIMTEC 2012 Materials Research Conference in Montecatini Terme, Italy. It was a truly inspiring and sometimes overwhelming experience, and I will be blogging in more detail about the lectures I heard and people I met over the coming weeks as I work my way through some of the material I gathered. For now, I am pleased to present an image of my poster – in situ – at CIMTEC 2012.