Welcome to my brand new Gallery section, added to bring this blog up to date. So far there are two galleries – one containing images of my jewellery collections, the other to showcase my photography projects. Right now it is still under development, so watch this space as I add more content. Enjoy!
Rise like the Phoenix…
It has been exactly one year since my last post on this Blog, and a lot has happened in the meantime. The good news first: I handed in my PhD at the University of Dundee earlier this month. Writing up my research over the last year has been a great experience, but now I feel I have come to the end of a long marathon.
The bad news: there are many posts I half-started and never actually published on the blog, relating to events and things I have seen over the last year. I will be pushing them out one by one now that I have a bit more time, and hope that some of you are still interested to read about not-so-current events and ongoings in the world of Interactive Craft.
To jump-start this blog a little bit after my self-enforced hiatus, I have finally succumbed and joined twitter. This will hopefully be an easier way to keep the blog right up to the minute when I don’t have the time to write longer posts, and give you a chance to engage more directly. So if you want to comment, just use my twitter handle @FutureJewels to send me a message!
I have also given the theme a bit of an overhaul, and added image galleries of my work here, updated on a more or less constant basis. Feel free to visit my Jewellery portfolio website as well, but it is here I intend to publish my latest creations. I have also decided to finally show some of my Macro Photography, which has provided the visual inspiration for much of my work. I hope you enjoy the facelift and continue to read my rambling posts.
The Arts Foundation Jewellery Awards 2016
Happy New Year to all of you Smart Jewellers out there! With 2016 only a few days old, I suddenly realised how terribly I am lagging behind with my blogging and there are a few long posts about my research activities still in the works – hopefully to be found on here soon!
But first I wanted to share some excellent news I received last November – I have been shortlisted for the prestigious Arts Foundation Jewellery Award 2016. With the awards ceremony at the end of the month fast approaching, I thought this was the perfect time to remind everyone to cross their fingers on my behalf on the 28th of January! You can read all about the awards and the other nominees in the Jewellery category in this recent Press Release or on the Arts Foundation website, where you can also find all the other categories and past award holders- for all you material enthusiasts out there the Material Innovation Category will be particularly exciting!
 I am absolutely delighted to be on the shortlist with so many talented and forward thinking practitioners and I am looking forward already to meet all of them in person on the 28th.
Make Shift Do 2015 – Smart Materials Workshop bookings now live!
Exciting things have been going on in my studio, but for the moment I am too swamped with the academic year starting and resuming my teaching duties to blog about them here. However, over the next four weeks or so I am hosting two fabulous events perfect for adventurous makers, the first of which is a Smart Materials workshop. Organised again by my friend and fellow PhD candidate Jo Bletcher as part of the 2015 Make Shift Do conference at the Duncan of Jordanstone College of Art and Design in Dundee on the 23rd of October, this will be a slightly larger affair than last year and cover a more varied range of materials. There is a nominal participation fee to cover material costs, and a range of other workshops running in the afternoon, from 3D printing to creative electronics. The makings of an excellent day out for digital makers!
All workshops are bookable through this Eventbrite Listing – See you on the 23rd!
Body Embellishment Exhibition
I am already getting very excited about the Body Embellishment Exhibition opening next month at the Mint Museum in Charlotte, North Carolina, where my Earconch will be on public display for the first time since my degree show at the Edinburgh College of Art in 2006. It will run from the 11th of April to the 6th of September – so plenty of time to marvel at the wonderful work on display. Fellow jewellers on display include greats such as Nora Fok, whose wonderful structural wefts with Nylon I have always adored. There is also a series of talks and events throughout the duration of the show.
I am so honoured to be a part of this exciting exhibition – here is a little feature in the style section of the Charlotte Observer which includes an image of my Earconch. If only I could afford to jet to the opening next month!

Tiny little Arduinos…
So, in my quest to create fabulous wearable futures for jewellery lovers, I have come to a point where I have to bite the bullet and get deeply involved in the microelectronics side of my research. The arrival of the Ultimaker has pushed my material experimentation to a whole new level, and the moment has finally come to start creating first assemblies of both materials and electronic components for my symbiotic jewellery objects.
Since I started my research, a lot has happened in the world of wearable computing – particularly in terms of miniaturisation, but also to some extent functionality. There seems to be more of an appetite now for developers to release ever-smaller processors and exciting sensors to the hacker community, and more and more people are starting to use them. For someone like me who is just starting out with electronics (and even after extensive reading and research around the subject for the last three years I would still consider myself a beginner) this is a blessing, as a larger user base means more community support in the shape of blogs, forums and user guides. The Adafruit website has a humungous database of learning projects, starting from scratch with the very basics and ranging all the way to the sublime. Another great resource for getting started is the Sparkfun website, which has a great learning section as well as a user forum. If you live in the States either one of these are very handy for you – just choose a project and order the components to go with it directly from the supplier. In the UK, you have to go through third party retailers, but between them they usually have the full range of components available (including some more from other brands).
In my latest efforts to intergrate electronics into jewellery, I was delighted to find that since I last looked in 2013, not one but five new Arduino-based microcontroller boards had been developed in an appropriate size range for wearables. Brilliant News!…Now which one to choose??? For a previous project, I had dipped my toes into using the Arduino Pro Mini 328 5V and 3.3V boards, which are a great little option if you need a lot of output pins and a reset button. I still have two of those in the workshop, and I am sure they will come to be used in the near future for one of my larger, more elaborate pieces. But they are rectangular in shape, and a bit awkward to use within the more rounded, organic shapes I have been making of late. Also they are quite possibly processing overkill for what I am trying to (and capable of) do in terms of programming. They have a similar functionality to the much larger Arduino Uno, which is definitely a lot more than I need at this point, although I like using one for running prototype programs and test the wired connections.
An immediately appealing option for using in my projects were the Adafruit Flora and Gemma, with the latter being smaller, with fewer pins and no serial monitor capability. They are both circular, which is a much easier shape for me to incorporate than the usual rectangular geometries of PCBs. I ordered the Gemma (the Flora is probably a little bigger than I would like for my use), and it is a nearly perfect size for most of my jewellery projects, with the handy JST and USB mini jacks meaning programming and powering the controller is a doddle. However, I am as of yet struggling with the programming – the first example sketch I tried to load onto it would not work (and we’re not talking Blink here btw), because of the lack of a serial monitor. I have not given up on Gemma, but I might have to postpone until my programming knowledge catches up. Another small controller recently introduced by Adafruit is the Trinket, which I have not yet had a chance to consider, but which is supposed to have the processing power of an Arduino Uno and looks really really neat and tiny…
…Which brings us to the last two new arrivals to the wearable controller market of late, the TinyDuino and TinyLily. Born out of a Kickstarter campaign by developers TinyCircuits, these are whole systems of tiny microcontrollers and accessories. Essentially built around the hardware of the Arduino Pro Mini and LilyPad series, the TinyDuino is square in shape and comes with an array of development boards and accessories, while the TinyLily is round and merely the size of my thumbnail but still has 8 sewable ports (4 analogue/4 digital) and two power outlets to play with – plenty for my requirements. The input voltage on these two controllers is variable between 2.7V and 5.5V, so allows for use with a large range of sensors and devices. Here is a size comparison of the Flora, Gemma and TinyLily for reference:
 While the TinyLily is slightly more awkward to program and connect, it has a definite size advantage over the other two that for making digital jewellery could make all the difference. It is slightly more expensive than the Gemma and about half the price of the Flora, but that seems about right in terms of functionality and processing power. Just for comparison, here are the Trinket, Trinket Pro and Arduino Pro Mini Boards:

Sizewise they are perfectly suitable for wearables, especially if you need the advanced functionality and processing power – with Adafruit Neopixels for instance. Their rectangular shape makes them a bit awkward for me, but I could see how they would work in the right situation. Now, on to tackling the programming…
The Digital Soane
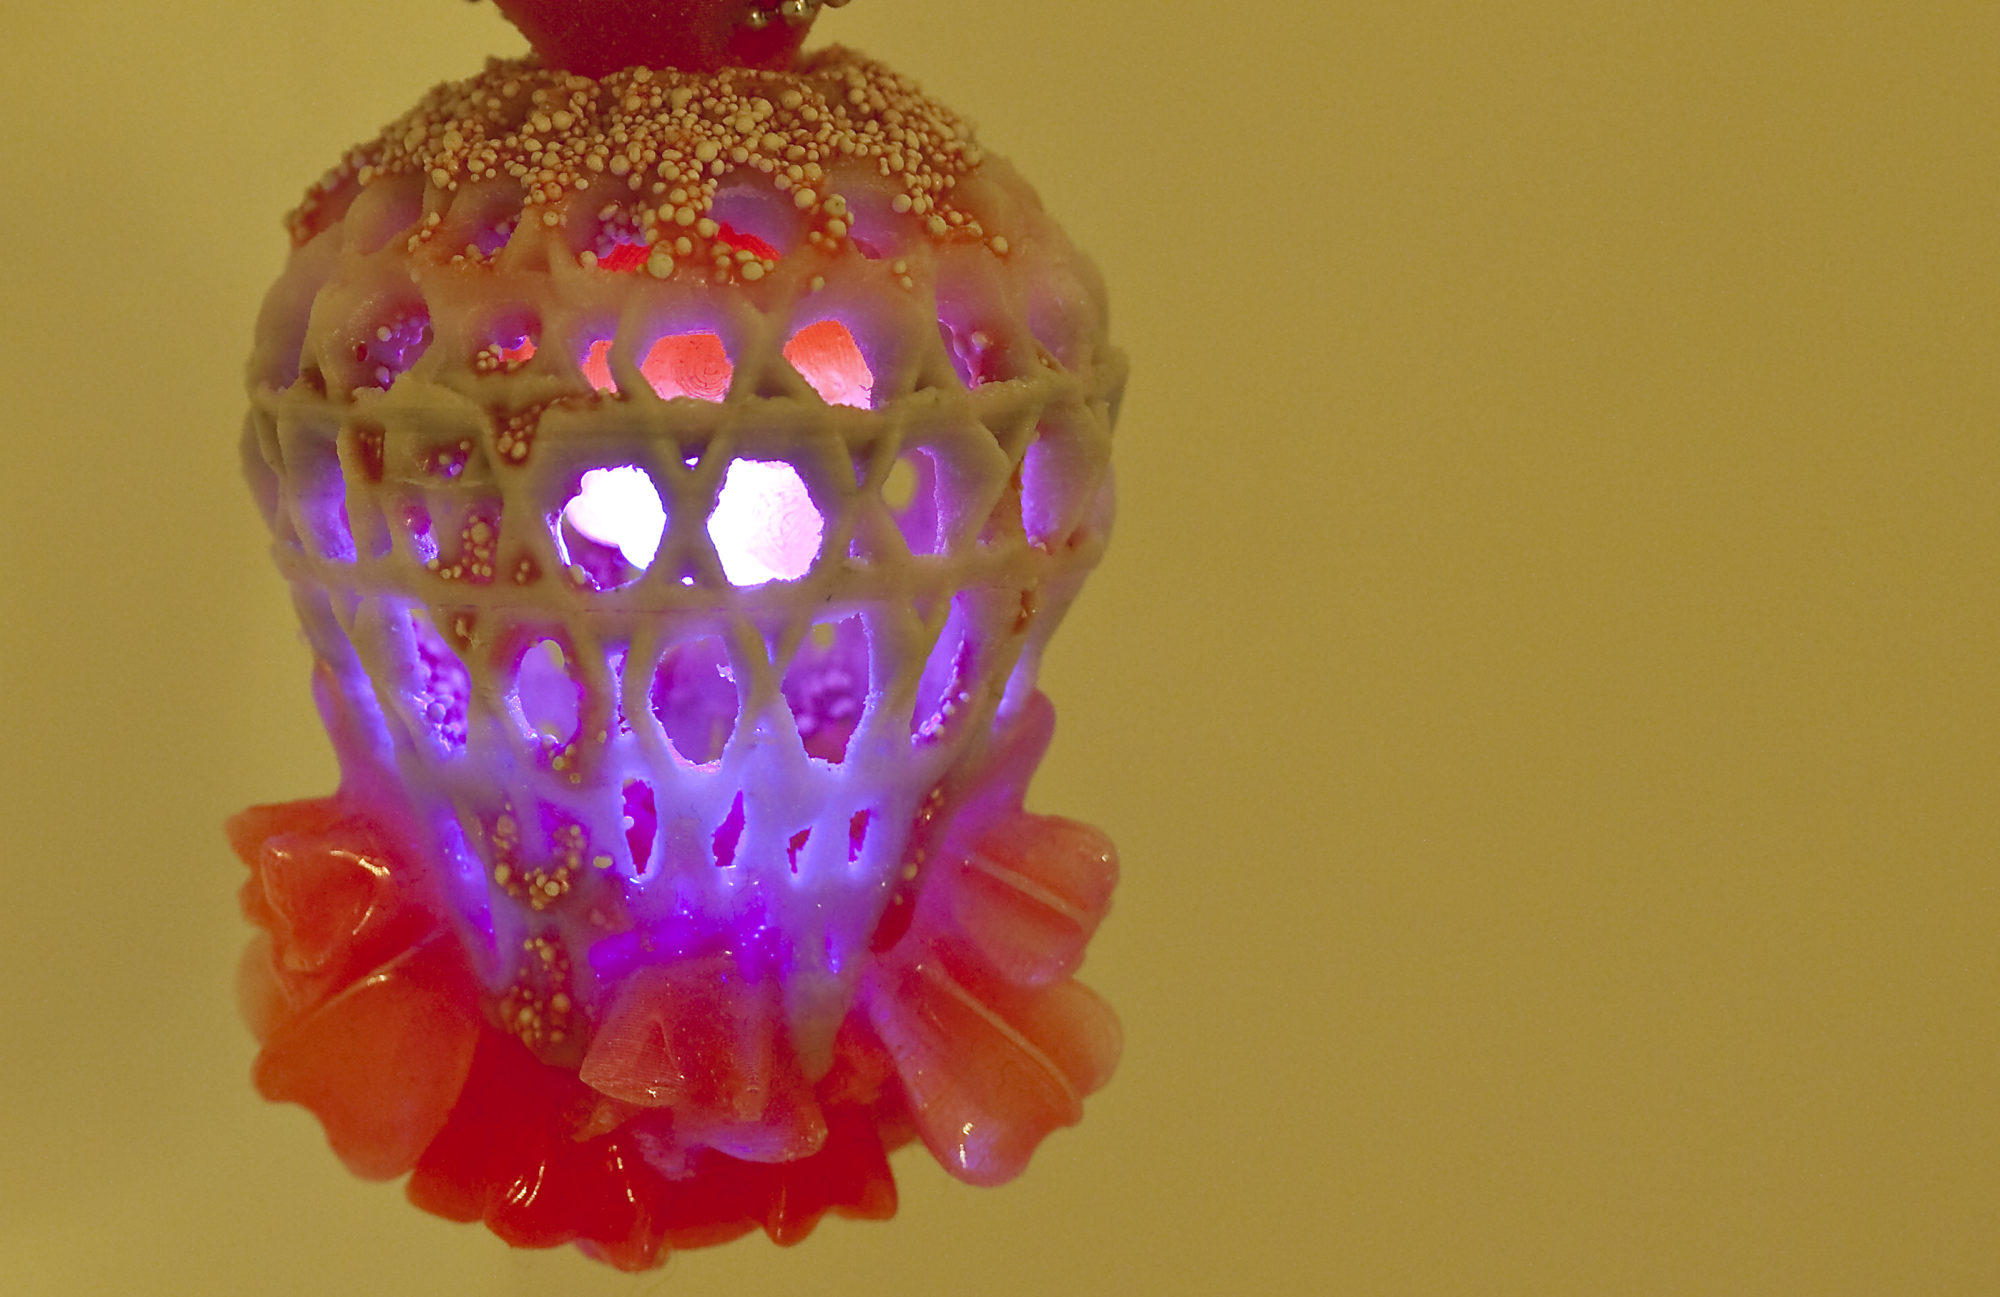
I recently took part in a really exciting collaborative project between the Sir John Soane’s Museum in London and the Royal College of Art alumni initiative In Tandem, supported by the Jerwood Foundation. For the project, the bust of Sir John Soane was digitally scanned to create a 3D model which was in turn divided into a number of fragments. Each participating designer was then given a digital printout of a randomly selected fragment to work with and design their own object in response. I was fortunate to receive an ear, which I turned into a temperature responsive wall sculpture with detachable necklace, based on architectural elements found within the Soane Museum.


I wanted to create something that looked and felt almost organic while being connected intimately to Sir Soane, his collections and his house. The colour was inspired by the eponymous yellow south drawing room with its black architectural mouldings, while the shapes of the necklace were abstractions of the famous domed ceiling of the breakfast room and Sir John’s urn collection. The title “Soane’s Burning Ear” refers to a story about the betrayal of Sir John’s son George, who published an article in a prominent architectural journal deriding the architectural practice of his father. This has come to be seen as a turning point in Soane’s life as the shock was allegedly responsible for the death of his beloved wife Elizabeth. The title “Soane’s Burning Ear” plays on the expression “My ears are burning”, and reflects Soane’s anger and disappointment with his son after this episode, expressed through the red colour of the silicone.
The object itself consists of two parts – the fragment of Sir John’s ear, taken from the bust and coated in a temperature reactive silicone and a 3D-printed pendant made from SLA plastic with a black, facetted sterling silver chain. The ear fragment acts as a holder for the pendant, and can either be displayed as an object or hung on the wall via the small hook on the back. When the pendant is detached, the ear becomes clearly visible, and a piece of the pendant seems to stay behind, giving the impression of Sir John wearing an earring. When the temperature of the fragment changes, for example through prolonged touch, direct sunlight or a rise in environmental temperature, the silicone changes colour and slowly transitions from dark red to bright yellow, blending in with the pendant and thus unifying the piece. This change is symbolic of time passing and obscuring the emotional turmoil of the past, shifting the focus onto the fragments of Sir John’s legacy as an architect and collector.
An exhibition of all pieces from this project at the Sir John Soane’s Museum will be open to the public from the 4th – 22nd of November 2014.
All Makers Now?
After returning from the very inspiring All Makers Now? Conference in Falmouth, I am buzzing with ideas and projects to add to my research. I met so many interesting researchers, artists and tinkerers in Falmouth, all working around the same themes and problems as me.
One of the most interesting discoveries was that of a website detailing recipes for using alternatives to the expensive materials supplied for the Z-corp 3D printer. While we had long suspected that the special white powder used in these machines is in fact plain plaster powder, research teams at US universities have started to tackle this head on by finding viable alternatives to bring down the cost of printing. As these printers need to be used regularly in order to keep working, this is a very welcome development. Cost is a major deterrent when it comes to creativity and experimentation, so hopefully I will be able to get some gears moving and try some of the recipes in our machine.
The recipes can be found at http://open3dp.me.washington.edu/, alongside lots and lots of other cool hardware and software projects all things 3D.
More exciting discoveries I made at the conference to follow soon. Now a summer of conferences and site visits is drawing to a close, it’s time to buckle down and finish writing that chapter of my thesis. But first, some impressions from the All Makers Now? Conference…enjoy!
Conference Participants enjoying the Smart Materials Workshop on Friday:

 The opening of the All Makers Now? Exhibition at Trelissick House and Gardens on Thursday night:

