Building the Ultimaker…

So, after deciding to go with the kit version of the Ultimaker Original +, the fun started at the beginning of December with the arrival of a pleasingly heavy box on my doorstep. At this point I would like to say that I absolutely love online shopping – the postman is to my mind a much improved version of Santa, delivering goodies to your doorstep all year round :).

Unboxing time!
Unboxing time!

Inside the box awaited three layers of components, with the laser cut plywood frame pieces at the very bottom. Getting these to my house unscathed had been my biggest worry, but luckily everything was well wrapped and nothing was damaged in transit.

Lots of...stuff.
Lots of…stuff.

But hold on! No packing list. I had literally no idea what anything was (only a few of the plastic bags were labelled) and so went into a mild state of panic. Luckily for the first step of the assembly process no instructions were needed – lightly sanding and painting the plywood parts. I had been to the DIY store earlier and decided on a colour scheme of satin blue for the main body and fluorescent pink for the moving parts. Mixing the paints with water to thin them down and adding custom pigment was something I had read about on various Ultimaker blogs, and it worked an absolute treat, leaving a lovely translucent matte finish.

Painting and sanding all the little parts took forever...
Painting and sanding all the little parts took forever…

This step took a lot longer than I thought, especially as I wanted to preserve the beautiful dark laser-cut edge on all the pieces. After I had painted all the sating blue structural parts, I started assembling the main frame.

The main frame, assembled and in situ
The main frame, assembled and in situ…

My studio is starting to get a little crammed with me adding more and more gadgets over the years, so I had to start expanding upwards by modifying a huge ikea shelf with a pull out platform. It’s the perfect size for my Ultimaker, and the shelves above hold my collection of various filaments. The assembly process itself took about seven days in total, and there were various bumps in the road as the parts were not fully labelled (particularly the multiple bags of screws) and such operations rarely go completely smoothly. But by the end of December, as 2015 was dawning, my Ultimaker was fully pimped and ready to go…and here it is in all its glory, my ‘girly’ Ultimaker Original + as one of my (male) friends called it – with mood lighting!
Ultimaker04


Thank you Santa!

With Santa having clearly read this blog and listened to my prayers, it was no wonder that (with the help of my savings account) his little elves were busy this Christmas and left a pleasingly large parcel on my doorstep! My new Ultimaker Original + kit had arrived – Squeee!

As a true techno-nerd-in-training it had to be the kit version for me – and just as ‘Santa’ was busy researching the options, the new UMO+ came out, with a heated bed and improved z-stage. If you’ve followed my admittedly sporadic postings, you will have read that at an earlier point I had considered Makerbot and the UP. Well, I have become thoroughly disenchanted with Makerbot in the meantime, mainly because of their withdrawal from the open-source community and the dodgy IP controversies surrounding Thinigverse. I believe in open-source, and have been following the recent commercialisation of the personal 3D printer market with great worry. There are fewer kit products now the market now than when I started this research project, and the general trend to provide a finished ‘out of the box’ printing experience – while not unexpected – is a great shame, particularly because if you know your machine inside out it becomes easy to diagnose and fix any problems that might occur. And occur they will, even the most sophisticated 3D printers eventually need to be maintained. The worst development in my opinion is the push of certain brands towards custom ‘cartridges’ of filament – do we really want 3D printing to go the way of the inkjet? Not me, and that is why the UMO+ was my choice.

After a good two weeks of painting, sanding, screwing and wiring, my fully pimped Ultibaby was ready to go and produce its first test prints. And after ironing out a few kinks along the way, it has now been up and running smoothly for the last month. My studio is getting filled with brightly coloured  bits of plastic in the meantime – don’t underestimate the power of the Ulti….

3D painted fish…

Today I came across the work of a very cool Japanese artist who takes the concept of 3D printing back to more traditional techniques – Riusuke Fukahori. Obviously a lateral thinker, Fukahori uses traditional painting techniques and glass clear resin casting to create almost hyper-real sculptures of fish swimming in bowls. He painstakingly paints small fish on layers of cured resin, adding more resin after each layer. In that way the process works exactly like 3D printing….except with paint and resin. Check out his amazing work, including a video of his process here.

goldfish-2-2goldfish-2-4 goldfish-4-600x398

Facebook Jewellery Exchange Sneak Peek

Hello All,

After a prolonged absence I am yet again resuming my research and thus this blog. And what better way to ease back into the swing of things than with a fun project. I have a few projects on the go at the moment, but the one I have just finished is the Jewellery Exchange, as promoted by Olga on Facebook. I believe 370 participating contemporary jewellery artists got partnered up with one another and agreed to make and swap a piece each by mid-April. I just received my piece in the mail from my partner Safira Blom, who is based in Sweden, this morning and I am absolutely delighted with it.

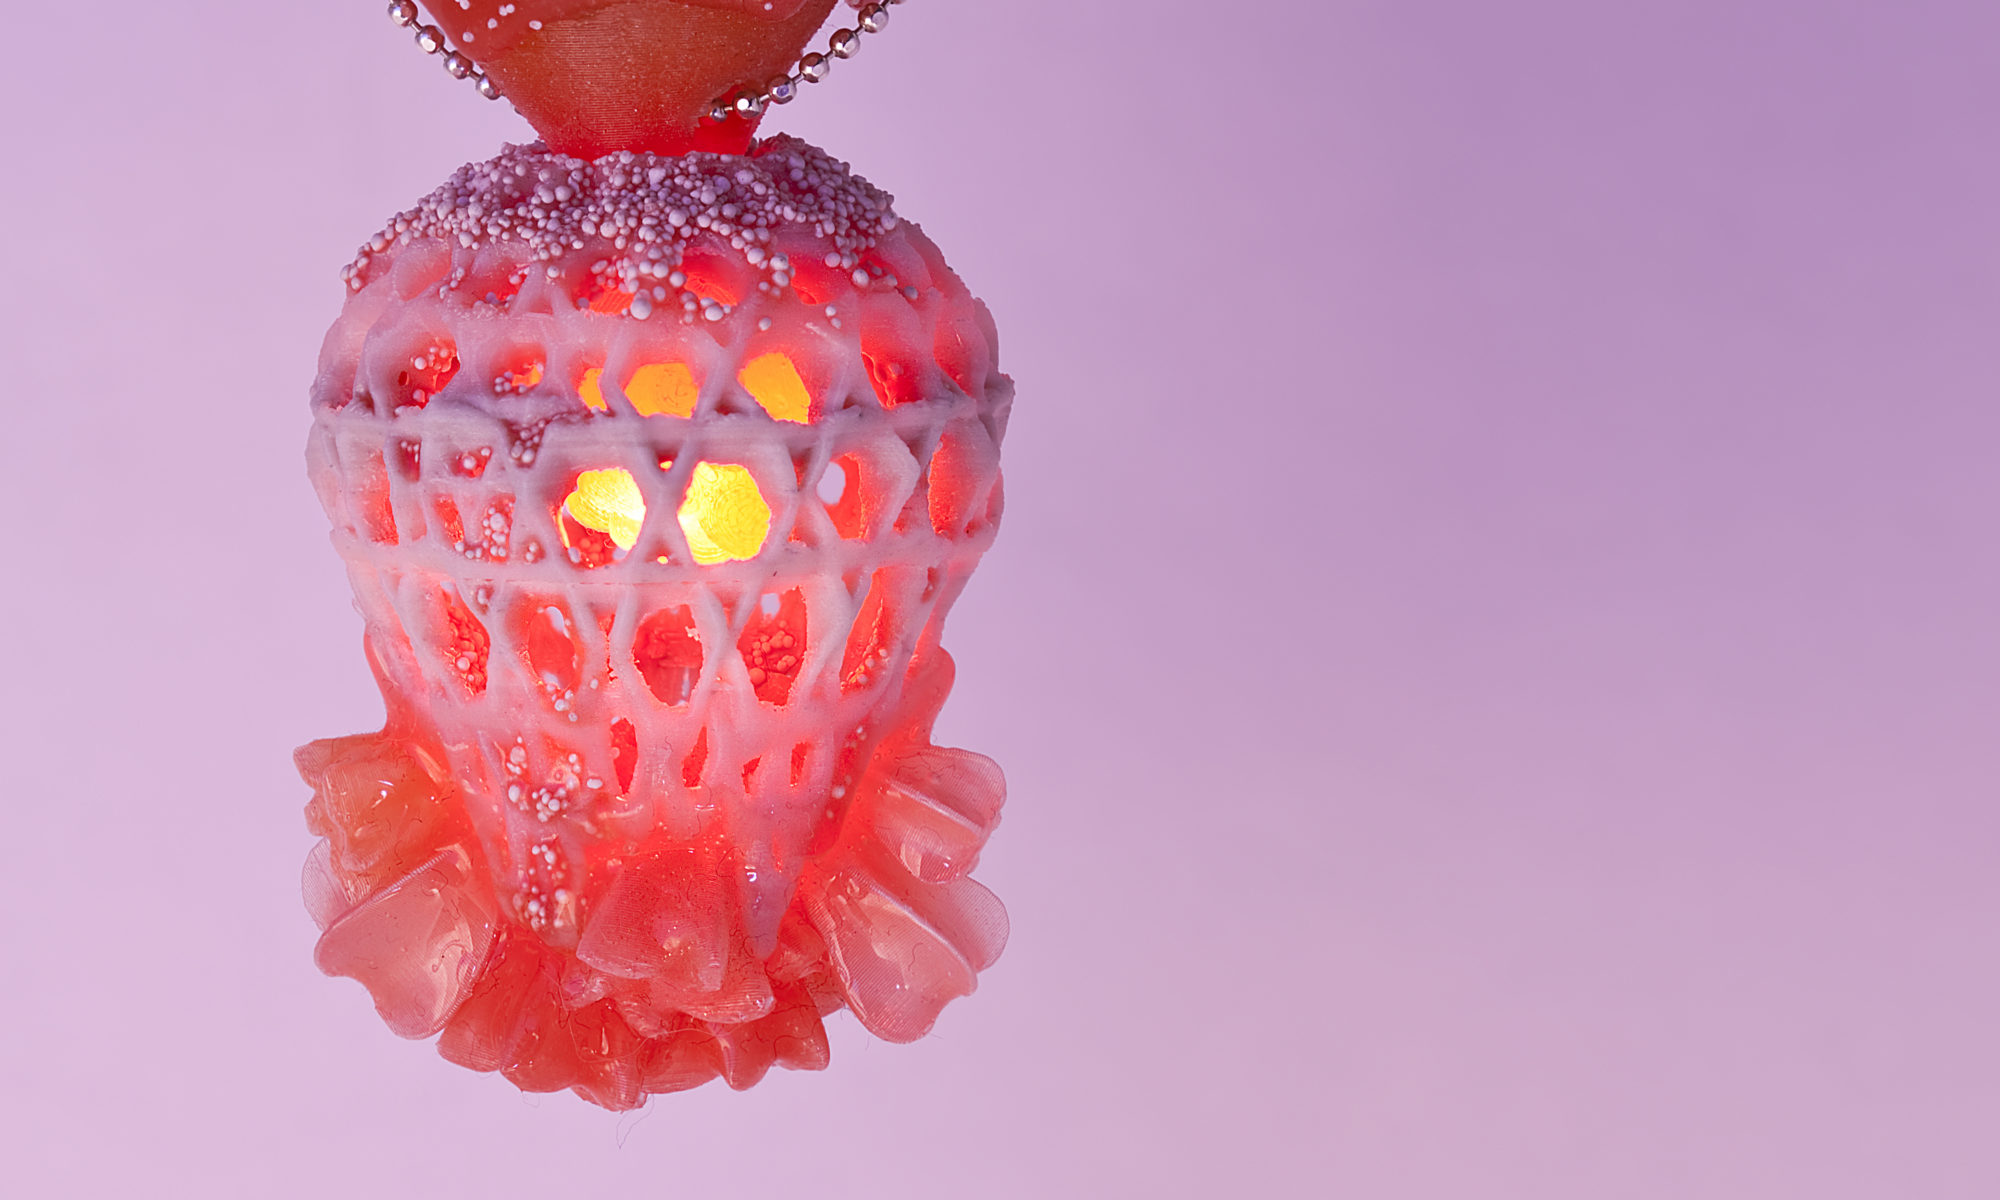
My own piece made its way to Sweden last week and I think it was well received. Incorporating 3-D printed elements and my signature thermochromic silicone shapes, it is the first of a new body of work I am currently developing, based on Macro images of cells, structures and minerals. Unfortunately we are not allowed to release images of the finished pieces before the jewellery exchange website has been unveiled, so instead I am posting a tiny glimpse of its structure in extreme close up. Enjoy!Pendant-Stack-Final-cropped

Want Want Want!! MakerBot Replicator 2 or UP!Plus V1.3?

After the recent pause in posting on this Blog mainly due to my crazy exhibition/teaching schedule, I am now picking up the pieces and emerging from the rubble which used to be my studio (left as it was after another all-night jewellery making session in October). Thoughts are turning to Christmas…and what could potentially be put into my stocking by Santa (or more likely myself – high tech gadgets at this price are a hard sell for the nearest and dearest).

Enter the MakerBot Replicator 2. Now, in my enthusiasm to learn all about microcontrollers, electronics, lasers and ‘how things work’ (culminating in the addition of the label ‘tinkerer’ after the much-contemplated ‘jewellery artist’), I was all up for downloading the plans for one of the weird and wonderful RP machines off Thingiverse, or even getting myself a kit of the pre-cut parts and assembling it myself. In fact, I was quite excited by the prospect of doing so – I even looked into booking myself into a workshop run at Manchester University to take the edge off risking potentially disasterous RP results and for a bit of guidance. And I may still pursue this avenue one day – a girl can never have too many cool machines to play with, right? After all, the philosophy behind open-source technology is that it’s self-replicating – meaning that if you have one to do the donkey’s work of printing all the parts, you could theoretically make as many others as you like from it.

Yet, the array of choices and potential hacks seems daunting at this stage, and my research schedule is not going to magically grind to a halt while I learn all about the available RepRaps in the world. Two printers are up for consideration, the UP!Plus V1.3 and the brand new MakerBot Replicator 2. I have had a go at using the UP!Plus at University, with actually really great results (compared to rather messier ones I have seen done on other RepRap machines). I print mostly very fragile structures, with diameters of 1mm and 2mm pushing the machine to the limit, and the UP!Plus deals with those beautifully. Prising them off the heated bed after printing with a pallette knife is actually a lot harder than it sounds and has resulted in some breakages, which I would rather avoid in the future. The UP!Plus Printer I have used at uni uses mostly ABS plastic. Whilst it’s cheap (great for the pockets) it’s not super environmentally friendly, and I actually do care about these things. I think we should be moving towards a cleaner future, and in my mind making objects out of plastic, no matter how fantastic they are, concerns me a bit. PLA has been touted as the greener alternative, being made from corn starch and sugar (although I am a bit sceptical about that myself, just as I am still doubting the green credentials of Biofuel), it also has the advantage of having a lower melting point than ABS, thus using less energy in the printing process. The lower working temperature means it’s easier to get off the bed, but also has the disadvantage of sometimes causing edge-curl on finished prints. Ideally I want ot get my hands on a machine that prints both, and the UP!Plus V1.3 now can do so.

So what do I like about the MakerBot Replicator 2? The allegedly wafer-thin layers are a huge draw, especially considering the scale of my work. Having seen videos of the machine in action, the print speed seems incredible. I also like it’s sturdy construction, no-fuss out of the box setup and removable print platform (a point of irritation with the UP!Plus). I am not going to mention the funky integral LED lighting at this point, as a true tinkerer and budding geek should not be concerned with such trivialities (LOVE it!!). Price-wise the two machines seem pretty equally pitched, with the MakerBot having a slightly larger print area. But before making a decision, it would be good to see it ‘in the flesh’ and maybe do a test print or two to compare the results side by side. Also, the MakerBot can only print PLA, so I would have to test the material for my application before deciding. Most home RPs need to be tuned to get the best possible results, a task I am not sure I am capable of yet. But as they say, you grow with the challenges thrown your way.

Altogether I am undecided – at this point having either one in my studio would make me ecstatic…are you listening Santa???