Since starting my research at Dundee I have become more and more aware of the wonder that constitues the world of Arduino, also known as ‘Microcontroller Programming that Artists can understand”.
After an introductory lesson on the very basics of connecting and programming by our resident tech-whizz Ally in March (breadboard anyone?), my first self-devised project was to wow fellow materials researchers at the CIMTEC Conference with a fully interactive Poster that lights up on touch. Armed with this essential starter guide and a box full of semi-familiar components I set to work to teach myself Arduino. My initial plan – to fashion a switch out of conductive ink – failed due to the intricacies of the Royal Mail Postal Service, but after using a simple push switch and a sleepless night I got the poster to light up on demand as planned…
…for about 2 hours after which the battery (LiPo 110ma) was flat. As the conference organisers were opposed to me taking the poster down every two hours to re-charge the battery I finally had to admit defeat, but fortunately the poster with its silicone shapes and colourful visuals made enough of an impact as it was (and the non-functioning electronic components were well hidden, so no explanations were necessary). Power supply is a serious concern for the wearable electronics practitioner though, and unfortunately one for which there are currently no truly satisfactory answers. Not that that’s going to stop me from looking for them….
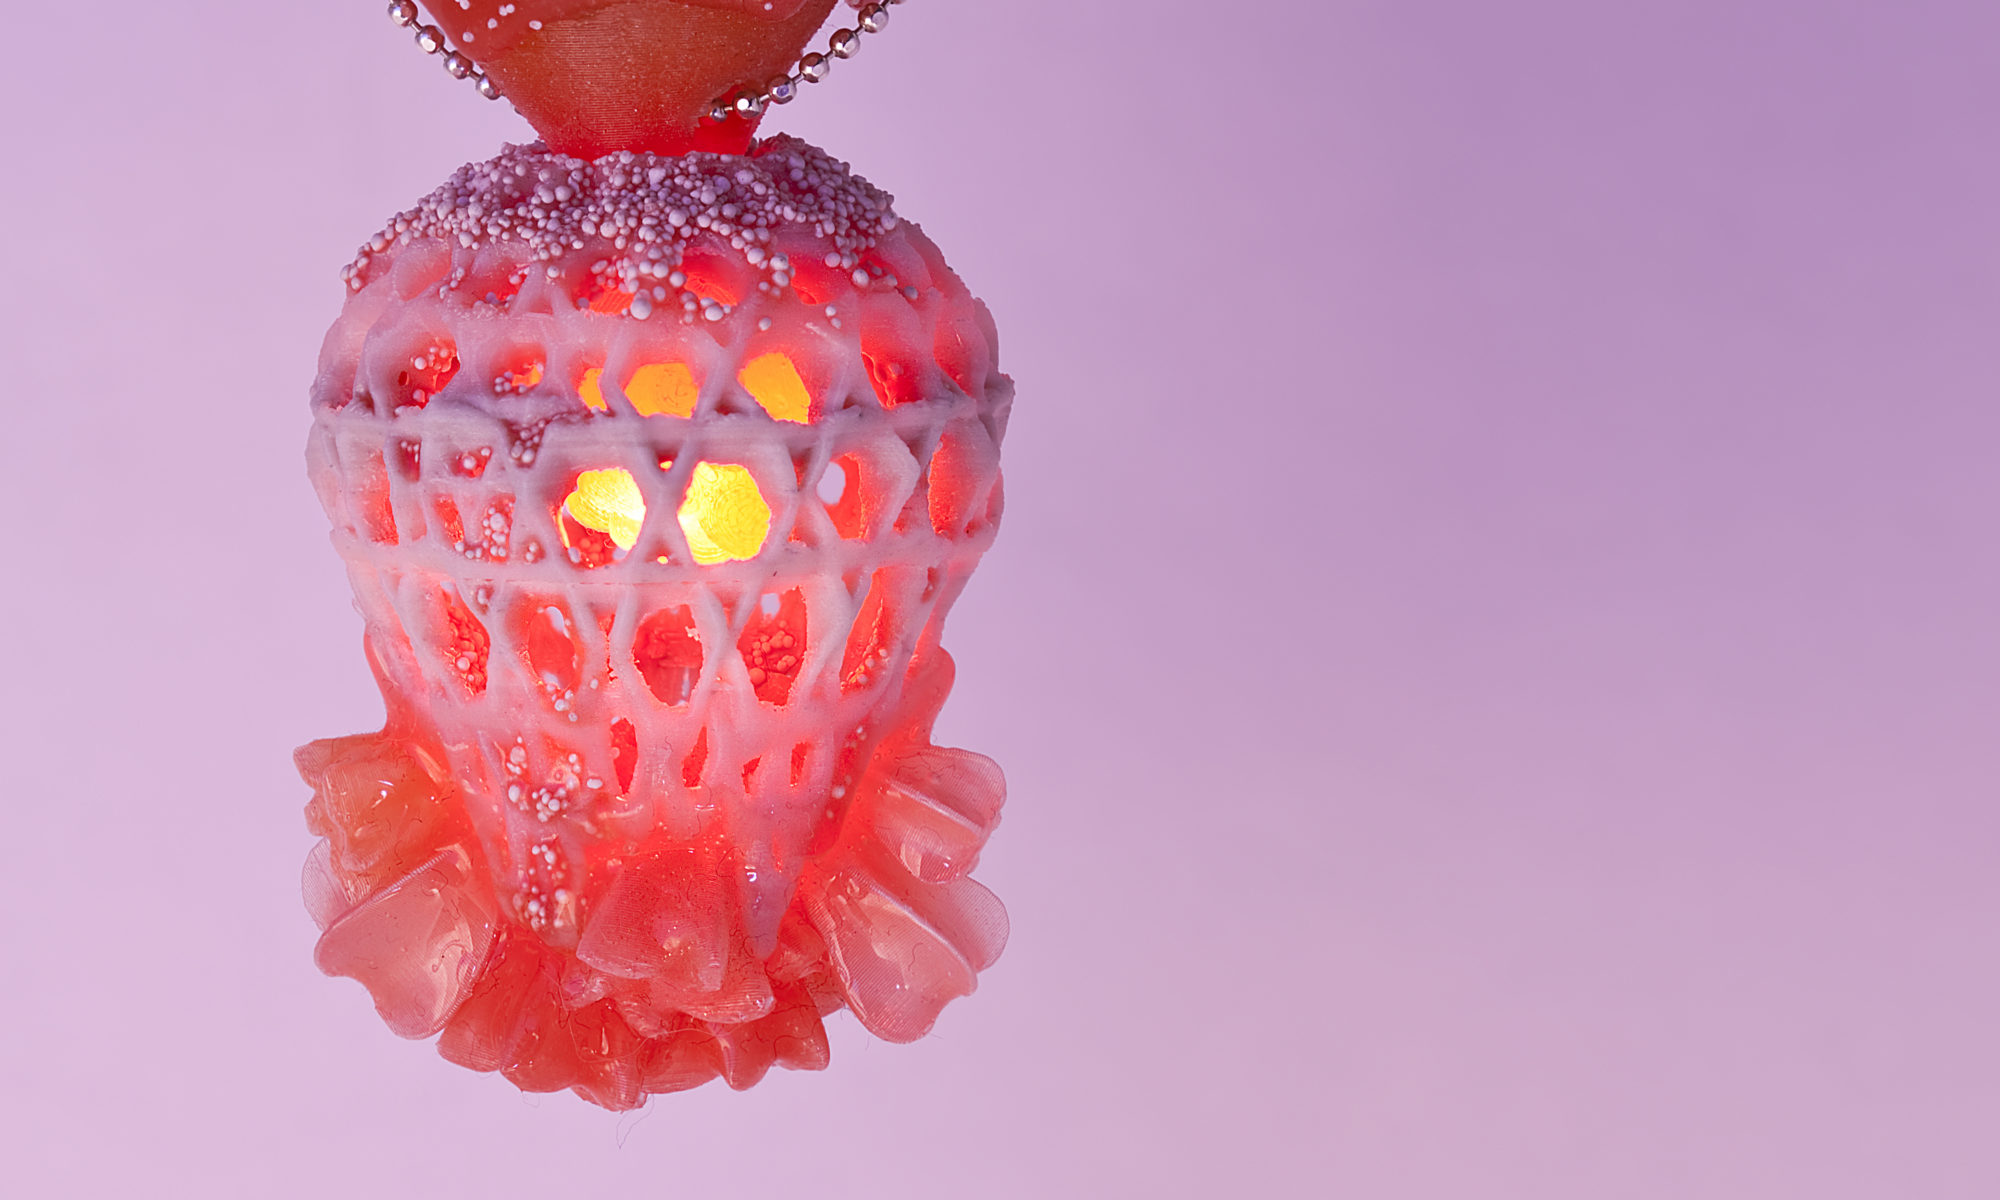
Anyway, on to my next Arduino venture. Heartened by the fact that I managed to set up and program a fully functional LED touch switch Arduino circuit (without blowing up the board – a Lilypad incidentally – or the LEDs) I have become more ambitious and want to greatly improve on my trial run. The opportunity presented itself in the shape of the Goldsmiths’ Fair 30 Year Anniversary exhibition, for which I am currently creating a piece that will respond to light changes by activating different groups of LEDs with differing levels of intensity according to ambient conditions. I am planning to use the Arduino Pro Mini 5V micro controller this time (for size reasons) to power about 10 LEDs, but only five at any one time. I am also thinking about using this color light sensor which can not only sense brightness levels but also the colour of light. There’s an extensive tutorial on how to program the device on this Blog, but to be fair I was already out of my depth after the first paragraph, so we’ll see how that goes, especially considering the deadline for handing the piece in. If all else fails, I will just use a bog-standard on/off light sensor and practice a bit more until deploying the other one in a different project.
Power supply is as per usual a great concern, and due to the nature of the exhibition I have decided that I will have to plump for the inelegant solution of a mains powered adaptor – there is no way I will be able to persuade anybody to change the battery once or twice a day and re-charge it when the piece is in situ at the exhibition.
So, that’s it on the Arduino front at the moment – I often think that the mountain I have to climb in terms of mastering microelectronics is still a large one, but at least I have started the ascent…

Just a note. Dont use that old article for this part. It isnt the same part. Im not sure why people link the two. You need this one here: http://bildr.org/2012/01/adjd-s311_arduino/
Also note that no one has ever gotten this part to work well.
Thank you Adam, I will adjust the link in the post to reflect the change. I used the other page because I was re-directed to it by Sparkfun, and in my naivety thought the it was the same part and just looked slightly different. As on functionality – even if I just get the six colour function to work described in the article it will be a huge step for me, I’m quite excited by the overall concept of a sensor to mirror environmental colour and then ‘expressing’ it through the colour of the LEDs. Hopefully eventually a part will come out that can do this unreservedly…