E-Textile Summer Camp Swatchbook

It’s been a hectic spring so far, with plenty of new and exciting collaborative projects in the pipeline for my research, as well as having been busy making new work to show at SOFA Chicago 2013 – hence the lack of new posts on the blog. With the arrival of summer even here in Scotland comes my first update on one of these collaborations.

Having experimented increasingly with thermochromic pigments for my research recently, it seemed natural that when invited to participate in the E-Textile Summer Camp Swatchbook Exchange to approach textile artist and lecturer at DJCAD Sara Robertson to produce a range of swatches incorporating thermochromic silicone and laser-cut textiles. After a few fun-filled afternoons of experimentation, we managed to produce 24 samples we were happy with, which will go into the swatchbooks for each participant and details of which can be found here. Each of the 24 participants will submit a sample of their own research in return, and the resulting swatchbooks will no doubt be coveted by e-practitioners all over the world – I can’t wait to see the finished booklets!

SmartLaB event this weekend!

It’s my SmartLab event this weekend at the Centrespace inside the VRC on the lower floors of the Dundee Contemporary Arts Centre and I hope to see some of you there! On display will be a range of prototypes of my latest interactive jewellery creations, as well as a short film of the Geotronic Brooch in action! There will also be a drop-in workshop for people to try their hand at using commercially available smart materials, and an ongoing demonstration of 3-d printing.

All are welcome, and there are two free talks each day, one at 12.30 and one at 2pm.

Back to School…

After a prolonged break from my Arduino experimentations I have finally made the time and, more crucially, room in my studio to return to the breadboard. It has not been a triumphant return. I could only remember the most basic facts about breadboarding, using electronic components and calculating resistance. Thankfully, I also had a whole new bag of funky components to break open, and after a little bit of online research, knowledge I had painstakingly acquired over the summer came flooding back to me in bits and pieces. I even vaguely remembered my plan (for which I had ordered said components) and how to go about executing it. However, of course my plan has changed since then and now I am unsure of how to combine the infinite variations of LEDs I have ordered in a meaningful way.

When looking over my components, the first surprise came when I inspected the Avago colour light sensor I had been so excited about in the summer. They say a picture is worth 1000 words, but to be honest I was still completely taken aback by the tiny size of this part, despite the useful size comparison picture next to it. How am I meant to solder that onto anything??? Briefly regretting not getting the fully assembled evaluation board instead (mainly because parts for wearable jewellery need to be tiny) I am now having to reconsider its immediate use in this project as I doubt my skills will advance quickly enough to make this part work (including all the programming). I had the foresight to order a simple optical sensor at the same time, and might use this instead in a more crude light/dark variation, which I might actually get to finish in time (the piece will be exhibited in March and needs to be delivered by February). As things stand right now, I will be over the moon if I even get the LEDs to work as I want them to and get all the soldering done on the components to fit them into the ‘chassis’, let alone complex colour sensing programming.

A significantly useful  idea I have come across in my research is to add a ‘sleep’ function to an Arduino programme in order to prolong battery life by turning off any funtionality not needed when the board is in sleep mode. As anyone working with wearables is aware of, battery life is one of the major problems, and so finding a way to make a single charge last longer is a great step in the right direction. I found a brilliant tutorial at Sparkfun on the subject, but unfortunately it exceeds my budding Arduino skills as of yet. However, I am sure I will return to it in the not so distant future – food for thought!

Want Want Want!! MakerBot Replicator 2 or UP!Plus V1.3?

After the recent pause in posting on this Blog mainly due to my crazy exhibition/teaching schedule, I am now picking up the pieces and emerging from the rubble which used to be my studio (left as it was after another all-night jewellery making session in October). Thoughts are turning to Christmas…and what could potentially be put into my stocking by Santa (or more likely myself – high tech gadgets at this price are a hard sell for the nearest and dearest).

Enter the MakerBot Replicator 2. Now, in my enthusiasm to learn all about microcontrollers, electronics, lasers and ‘how things work’ (culminating in the addition of the label ‘tinkerer’ after the much-contemplated ‘jewellery artist’), I was all up for downloading the plans for one of the weird and wonderful RP machines off Thingiverse, or even getting myself a kit of the pre-cut parts and assembling it myself. In fact, I was quite excited by the prospect of doing so – I even looked into booking myself into a workshop run at Manchester University to take the edge off risking potentially disasterous RP results and for a bit of guidance. And I may still pursue this avenue one day – a girl can never have too many cool machines to play with, right? After all, the philosophy behind open-source technology is that it’s self-replicating – meaning that if you have one to do the donkey’s work of printing all the parts, you could theoretically make as many others as you like from it.

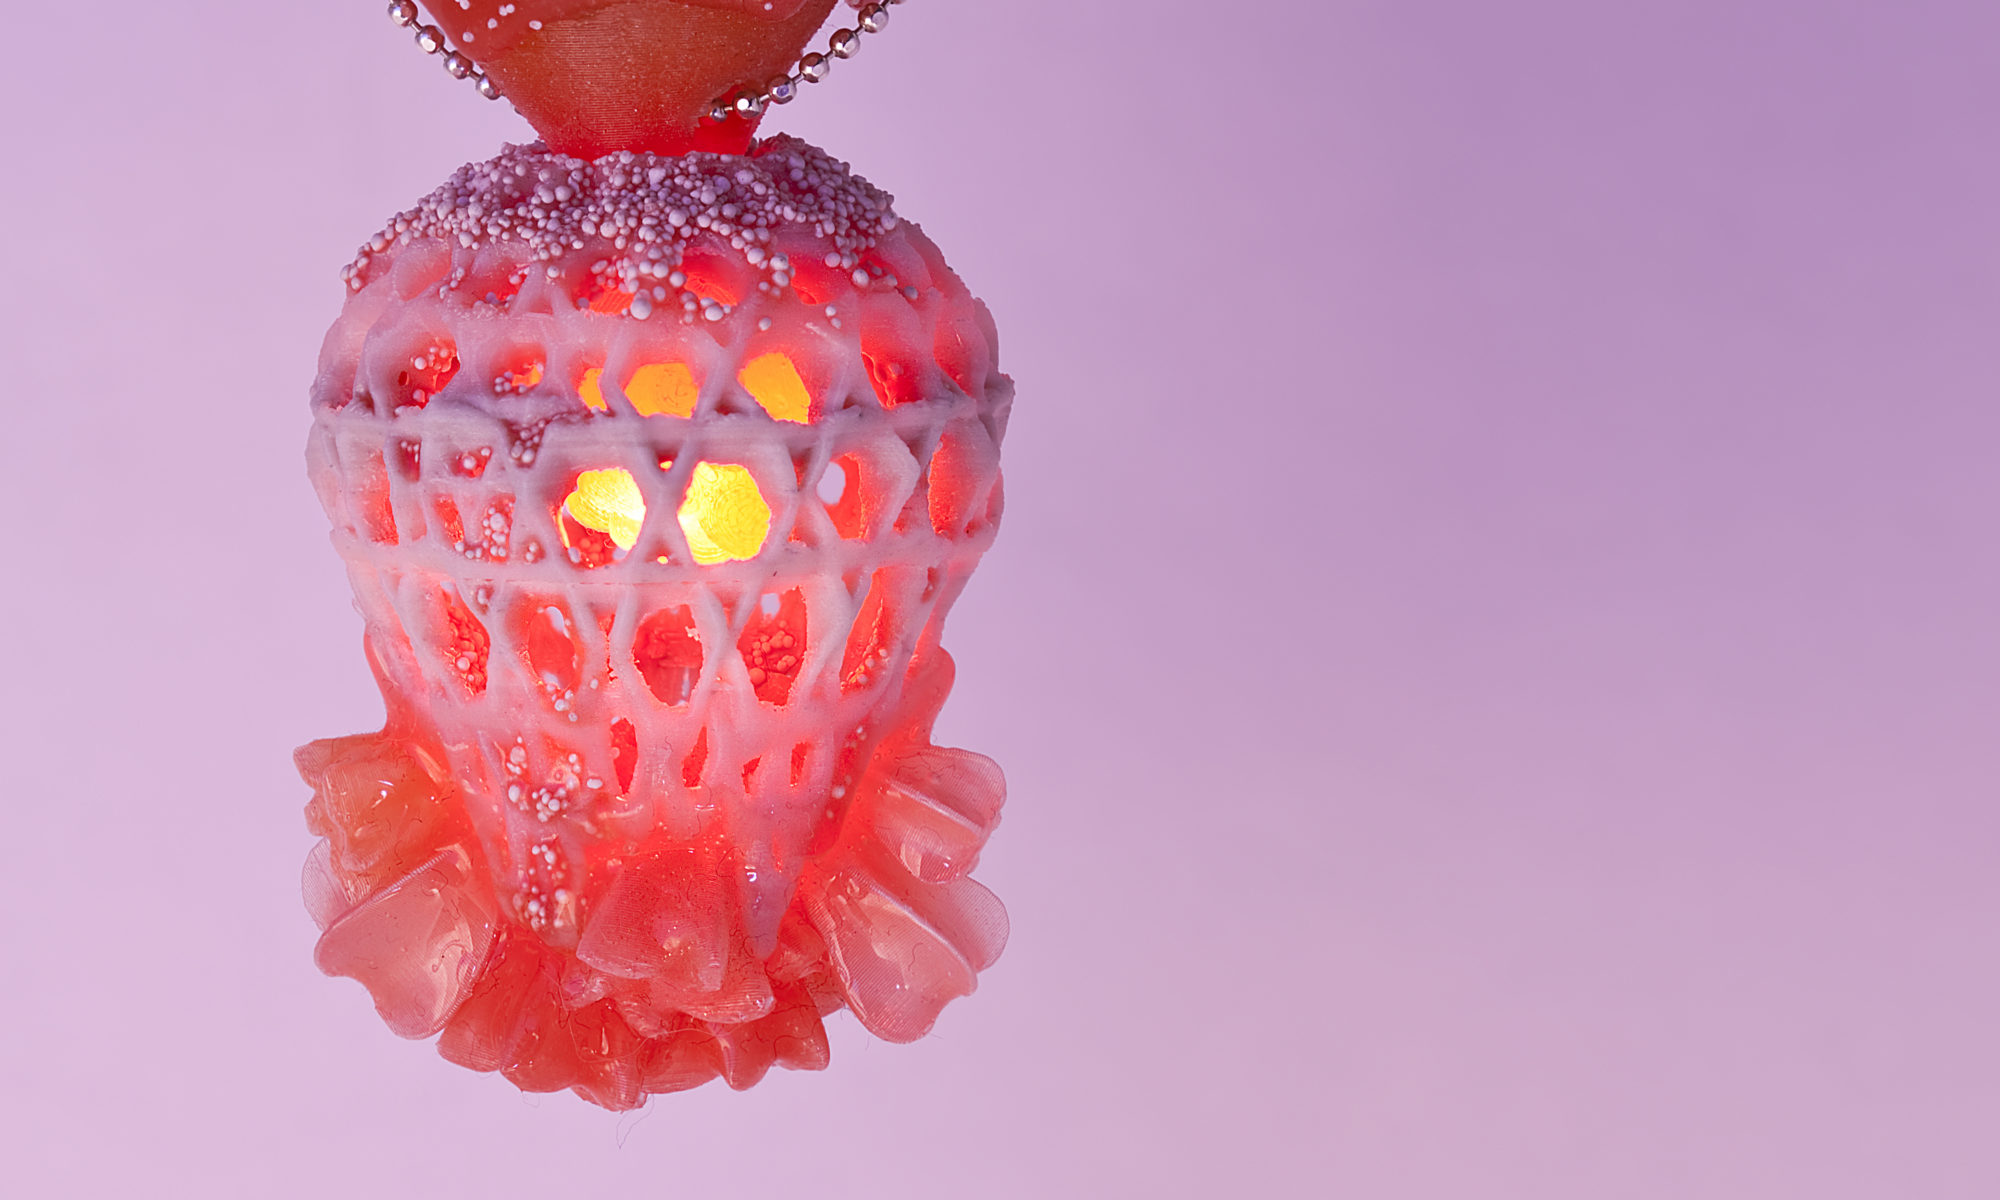
Yet, the array of choices and potential hacks seems daunting at this stage, and my research schedule is not going to magically grind to a halt while I learn all about the available RepRaps in the world. Two printers are up for consideration, the UP!Plus V1.3 and the brand new MakerBot Replicator 2. I have had a go at using the UP!Plus at University, with actually really great results (compared to rather messier ones I have seen done on other RepRap machines). I print mostly very fragile structures, with diameters of 1mm and 2mm pushing the machine to the limit, and the UP!Plus deals with those beautifully. Prising them off the heated bed after printing with a pallette knife is actually a lot harder than it sounds and has resulted in some breakages, which I would rather avoid in the future. The UP!Plus Printer I have used at uni uses mostly ABS plastic. Whilst it’s cheap (great for the pockets) it’s not super environmentally friendly, and I actually do care about these things. I think we should be moving towards a cleaner future, and in my mind making objects out of plastic, no matter how fantastic they are, concerns me a bit. PLA has been touted as the greener alternative, being made from corn starch and sugar (although I am a bit sceptical about that myself, just as I am still doubting the green credentials of Biofuel), it also has the advantage of having a lower melting point than ABS, thus using less energy in the printing process. The lower working temperature means it’s easier to get off the bed, but also has the disadvantage of sometimes causing edge-curl on finished prints. Ideally I want ot get my hands on a machine that prints both, and the UP!Plus V1.3 now can do so.

So what do I like about the MakerBot Replicator 2? The allegedly wafer-thin layers are a huge draw, especially considering the scale of my work. Having seen videos of the machine in action, the print speed seems incredible. I also like it’s sturdy construction, no-fuss out of the box setup and removable print platform (a point of irritation with the UP!Plus). I am not going to mention the funky integral LED lighting at this point, as a true tinkerer and budding geek should not be concerned with such trivialities (LOVE it!!). Price-wise the two machines seem pretty equally pitched, with the MakerBot having a slightly larger print area. But before making a decision, it would be good to see it ‘in the flesh’ and maybe do a test print or two to compare the results side by side. Also, the MakerBot can only print PLA, so I would have to test the material for my application before deciding. Most home RPs need to be tuned to get the best possible results, a task I am not sure I am capable of yet. But as they say, you grow with the challenges thrown your way.

Altogether I am undecided – at this point having either one in my studio would make me ecstatic…are you listening Santa???

BlinkM Smart LEDs

blinkm-lrgIn my search for the right LED to use in my most recent project, I came across the fully programmable and sequenceable BlinkM LEDs. These are very useful to those who want to create stunning light effects without going into the vagaries of Arduino programming. Simply use the colour sequencing tool, select your colour choices and let the colourful fun begin!

EL Wire or how Tron is still amazing in 2012

EL Wire (short for Electroluminescent Wire) is one piece of wearable electronics which has permeated public conscience more so than other materials, probably because of its variety of uses – be it in large scale sculptures (approved by Royalty as of 2012), home gadgetry, or to make freaky halloween costumes. It is relatively easy to use (there’s a great guide on how to connect and power El Wire here), quite cheap to buy and comes in many different colours for greater effect – perfect for illuminating that wearable electronics projects on one of those cold, dark winter evenings sprawling ahead uf us in the near future.

Aesthetically, EL Wire is of course entirely inspired by that great beacon of early Cyber Sci-Fi, Tron. Lambasted by the Academy for using CGI in 1982, and narrowly missing out on an Oscar because of it (using CGI was deemed ‘cheating’ in the special effects category it was nominated for back then), Tron featured those amazing costumes which seem to glow at the seams (not to mention the now iconic cybernetic race bikes that doubtlessly inspired the recent EL car modding craze). Those of you who have known me for a little while will also be aware of my fascination with Tron, and can imagine my mixture of tentative delight and fear when hearing about the Tron:Legacy film in 2010. Being a bit of a sci-fi and film buff, the recent trend of taking what was a perfect movie from the 70’s/80’s/90’s and pointlessly re-making it while totally missing the point and depriving the source material of any of its kitsch retro-charm, has all but driven me to despair (Total Recall anyone?). However, in favour of Tron:Legacy, they did try to create a proper sequel to the original film, which in my book puts it marginally above the rest, even if it’s not really up to much and structurally re-hashes the original in far too many ways. That and the absolutely killing sounds spun by Daft Punk throughout the film, making what could be bland and faintly reminiscent scenes of virtual gaming a joy to watch (look out for their cameo in the bar scene).

Naturally, another part of the fun of watching it was to figure out the use of EL Wire in the costumes, and I thought I would share this extensive article on creating the costumes by Chris Laverty (part 1 and part 2). Designer Mike Hardcastle from Light Tape UK used custom-made Light Tape instead of EL Wire, undoubtedly for its ability to cover larger and oddly shaped surface areas and flatness. Light Tape is based on the same principles as El Wire, of covering a conductive copper core with phosphorescent material and then laminating these two layers in transparent coloured plastic sheeting, giving the final product its colour and glow. As per usual in wearable electronics, battery life is the great killer – one charge only provided ten minutes’ worth of illumination to main character Sam Flynn’s suit! Nevertheless, the Tron aesthetic still rocks in 2012, and has certainly inspired this artist to dabble in EL…watch this space!

Learning Arduino…the long journey

Since starting my research at Dundee I have become more and more aware of the wonder that constitues the world of Arduino, also known as ‘Microcontroller Programming that Artists can understand”.

After an introductory lesson on the very basics of connecting and programming by our resident tech-whizz Ally in March (breadboard anyone?), my first self-devised project was to wow fellow materials researchers at the CIMTEC Conference with a fully interactive Poster that lights up on touch. Armed with this essential starter guide and a box full of semi-familiar components I set to work to teach myself Arduino. My initial plan – to fashion a switch out of conductive ink – failed due to the intricacies of the Royal Mail Postal Service, but after using a simple push switch and a sleepless night I got the poster to light up on demand as planned…

…for about 2 hours after which the battery (LiPo 110ma) was flat. As the conference organisers were opposed to me taking the poster down every two hours to re-charge the battery I finally had to admit defeat, but fortunately the poster with its silicone shapes and colourful visuals made enough of an impact as it was (and the non-functioning electronic components were well hidden, so no explanations were necessary). Power supply is a serious concern for the wearable electronics practitioner though, and unfortunately one for which there are currently no truly satisfactory answers. Not that that’s going to stop me from looking for them….

Anyway, on to my next Arduino venture. Heartened by the fact that I managed to set up and program a fully functional LED touch switch Arduino circuit (without blowing up the board – a Lilypad incidentally – or the LEDs) I have become more ambitious and want to greatly improve on my trial run. The opportunity presented itself in the shape of the Goldsmiths’ Fair 30 Year Anniversary exhibition, for which I am currently creating a piece that will respond to light changes by activating different groups of LEDs with differing levels of intensity according to ambient conditions. I am planning to use the Arduino Pro Mini 5V micro controller this time (for size reasons) to power about 10 LEDs, but only five at any one time. I am also thinking about using this color light sensor which can not only sense brightness levels but also the colour of light. There’s an extensive tutorial on how to program the device on this Blog, but to be fair I was already out of my depth after the first paragraph, so we’ll see how that goes, especially considering the deadline for handing the piece in. If all else fails, I will just use a bog-standard on/off light sensor and practice a bit more until deploying the other one in a different project.

Power supply is as per usual a great concern, and due to the nature of the exhibition I have decided that I will have to plump for the inelegant solution of a mains powered adaptor – there is no way I will be able to persuade anybody to change the battery once or twice a day and re-charge it when the piece is in situ at the exhibition.

So, that’s it on the Arduino front at the moment – I often think that the mountain I have to climb in terms of mastering microelectronics is still a large one, but at least I have started the ascent…

NiTiNol

Nickel Titanium Shape Memory Alloy is one of the more well-known smart materials, being used in all sorts from medical instruments to bendy spectacle frames. Shape Memory Alloys (or SMAs as I will be calling them henceforth) were the material that got me interested in my research area in the first place, back in 2006, when their use was still in its infancy within the Visual and Applied Arts community and the only textbook I could find was so scientifically written that I had only a vague notion of how these materials might be useful in my quest to make Jewellery come alive. When I subsequently arrived at the RCA, full of dreams of exploring these wondrous metals, I was told they would be utterly unsuitable for jewellery use in the way I imagined, and that I shouldn’t waste my time. Disheartened but unconvinced my creative path digressed, but in the back of my mind I always knew I would return to the world of ‘Smart’ eventually.

At the University of Dundee we have the fascinating department of Imaging and Technology at the Ninewells Medical Research centre, where a group of extremely talented researchers spend their days developing new surgical tools for use at the hospital. Needless to say, shape memory alloys play an important part in this task, coiled into tiny springs inside long laproscopes, which in turn are used to get into what were previously thought inaccessible areas of the human body.

On a less serious note, Shape Memory Alloys  have been used in a variety of applied arts projects, a few fun examples of which I came across on youtube recently (more fun to be had here,here and here). At CIMTEC I met the charming Dr Patrick Dyer of the University of Brighton, who has done quite a bit of research into combining SMAs with textile applications – a field that has been far more encouraging in finding a use for SMAs. Having seen the shape-shifting clothes created by Hussein Chalayan in 2007 at his retrospective at the London Design Museum, I think SMAs are as exciting as they come but have been seriously overlooked by jewellery artists thus far. It is time this changed, and hopefully I will be able to contribute to that through my research.

CIMTEC 2012 Conference at Montecatini Terme

Recently I was fortunate enough to be able to present a poster at the CIMTEC 2012 Materials Research Conference in Montecatini Terme, Italy. It was a truly inspiring and sometimes overwhelming experience, and I will be blogging in more detail about the lectures I heard and people I met over the coming weeks as I work my way through some of the material I gathered. For now, I am pleased to present an image of my poster – in situ – at CIMTEC 2012.